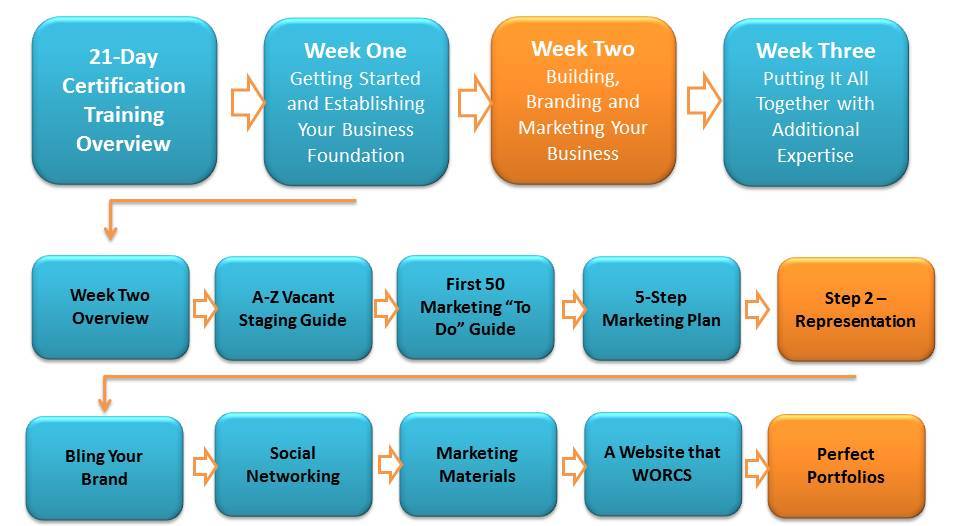
In this section, we are going to wrap up your portfolio in a big bow and make it look fantastic! A portfolio is not as simple as taking photos and enlarging them for your hard copy portfolio. You need to consider how to clean them up, brand them and post them online for tons of instant marketing!
Don't email me asking how you can build a portfolio when you're just starting out like it's an impossible task...it's absolutely not AND every stager has to start somewhere! Take photos of your own home if you must or redesign a friends home. This is how every stager usually starts their portfolio since you have to give client's "an idea" of your style and the way you work. This is also a great way to practice your photography skills so do vignettes in your home and photograph those as well.
Once you get that first staging/redesign job, you will have oodles of photos to work with and you can swap out your portfolio photos when better ones come along...you only need your BEST 10-20 on your website.
**If you ordered the Premium Website Package, we have a special slideshow for you built into your site.
**If you built a WordPress website on your own, then a great plugin to add to the site is: metaslider and it's a mobile friendly slider plugin for your website that is free.
Website Advice for Showcasing Your Work
While you can get fancy and "watermark" your photos with your logo or business name, many times that can distract from the photo in my opinion. If you do plan to watermark, use an easy app like Watermark Studio X or Watermark Photo's free versions to see if it's even worth it.
Always have a "Gallery" or Portfolio page on your site to showcase your best work. Use a slideshow or simply put the photos in the page (making sure they are resized, so they don't slow the loading of the page).
- In a slideshow put your BEST photo first (visitors have a 2 second attention span)
- Always include a call to action
- Sprinkle your photos throughout your website
- Edit the after photo but don't get too crazy on the editing...
Quick Editing in 3-Minutes from Your Phone Video
If you're having trouble seeing this video, here's the direct YouTube link - https://youtu.be/5p0lPRTGiNw
Quick Editing in 3-Minutes Using Lightroom (free app)
If you're having trouble seeing this video, here's the direct YouTube link - https://youtu.be/XBQ00lKwOEQ
Get instantly good photos using "light room presets" in Adobe Lightroom. This quick video shows you how to download the free app (which can also be used on desktop) and use Jenna Kutcher's free light room presets to edit your pictures to create perfect lighting!
Jenna Kutcher is a photographer turned Internet influencer and I love her look, strategies and photos. Here's a link to her free presets -
https://jennakutcher.leadpages.co/preset-giveaway/
Full disclosure, I'm not affiliated with her and you will get her marketing emails after signing up for the presets so just unsubscribe;).
Here's another quick video showing my before and afters:
If you're having trouble seeing this video, here's the direct YouTube link - https://youtu.be/eIQIxVoNCFA
Using the Ripl App to Showcase Before and After Videos
One of my favorite video apps is Ripl and it does cost a bit but it's VERY easy to upload your photos and make a quick video of your staging job. In fact, some of the videos we created in the Social Curation area were made with that app.
https://www.ripl.com/features-and-price
Test it out for yourself with their free trial and the yearly cost might make sense to your IF you use it...it also allows you to easily brand your videos and multi-post it to all your social platforms with one click...how cool is that?

